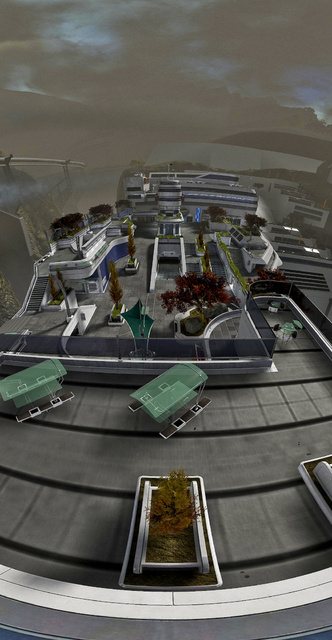
This is a little guide I’ve put together so you can make Halo Reach panoramas using free programs as not all of us can afford or even like Photoshop. I assure you it is simple and not as time consuming as you might think, just make sure you follow the guide fully or you may get strange results.
Programs you need:
Hugin – Program for making panoramas.
Paint .net – If you don’t already have an image editing program.
Halo Reach – 😀
Read on for a full guide on how to take the screenshots you need, how to add them all together into a panorama and how to get the best results for your panoramas.
First of all you need to find the scene you want to panoramize (is it a word? IDK), so jump into theater in Halo and find something that you think might look good. I’m not going to tell you how to make a good screenshot because I don’t really know either.
Once you’ve found the angle you want figure out where you want the center of the image to be and now do not touch the left analog stick again.
Take your first screenshot and upload it. Now here’s the bit that requires a little time and effort, firstly we’ll assume you want to do a horizontal panorama, use the right stick to pan to the right, make sure you’re only moving horizontally and not diagonally. The trick here is to make sure each image flows from the last and there is an overlap for each image of about 40% of the width. For example look at what’s at the very right hand side of the screen, if you’ve panned right by the right amount what was at the very right of the first screenshot will be just to the right of the center of the first screenshot like in the example below:

Repeat until you think you have gone far enough to the right and then return to the center and do the same to the left, you don’t always have to go left AND right, some panoramas look good the the subject being at the far right or left.
Next jump onto Bungie.net and view your files, find all the screenshots you took for that panorama and download the high res versions to your computer, I usually find it best to put them in their own folder so it’s easy to know which shots are part of which panorama.
Next open up Hugin and you should get the screen below:
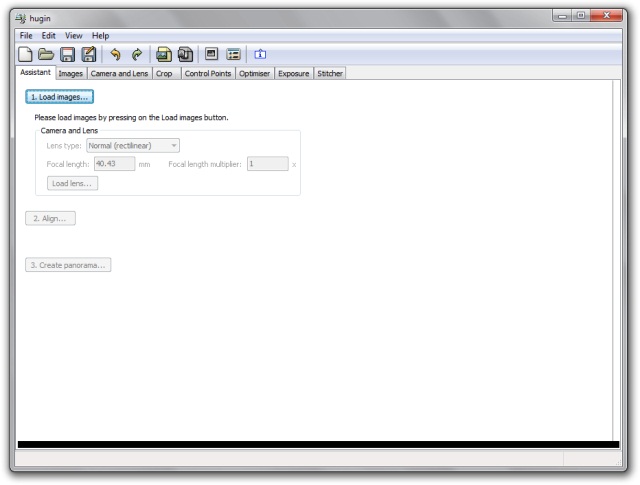
Click on Load images and select all of the images that are part of your panorama, or if you’ve put them all in a folder on their own CTRL+A to select them all. It will now pop up with a box asking for the field of view (FOV), Halo Reach’s FOV is 70deg so just put 70 in the FOV box, don’t change anything else, if it pops up again just enter 70 again.
At this point it is worth noting that if you want to you can zoom the camera (pressing the right stick) and make panoramas that way too, however when doing the above step use 35 as the FOV instead.
Now click the “Align” button and (depending on how many images you’ve selected) it will take a few minutes to resize the images and then align them all together. Once done you should end up with the window below:
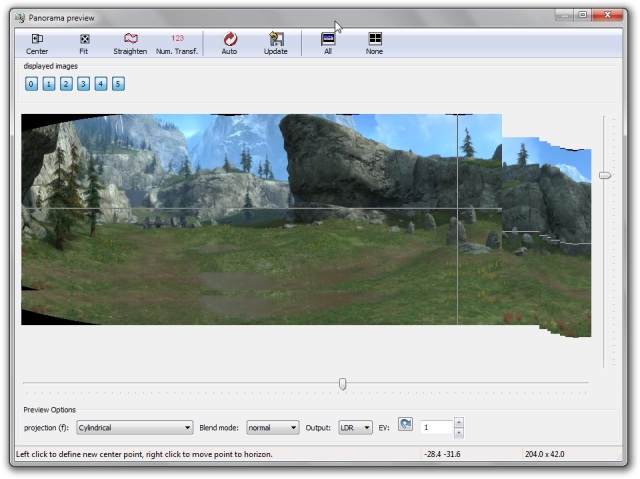
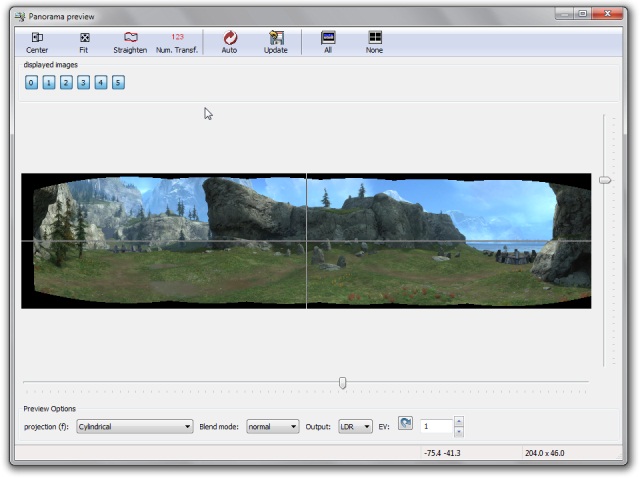
This is where we have to select where the image should be centered, it may already look straight, just click the mouse on the image where it should be centered. You should normally center it on your first screenshot but you can experiment, if you need to start again just go back and click align again, don’t worry this time it will be a lot faster. Remember in this window it is impossible to get a perfect rectangle, the image will probably look a funny shape, have large black areas or even be upside down, this is not a problem and is normal. For example, the images below would all be normal for an output.
You may also have to rotate the image a little, especially with vertical panoramas. Use the right mouse button to click in the direction it should be rotated and it should straighten up, this is a little trial and error though, so get used to it. There is no OK button on this window so just close it.
Guess what the next step is! Press “create panorama” again just select where you want to put the finished file and sit back while the program does all the work. It may take a few minutes.
You should now have an output file which may look something like this:

At this point if you want to, you can use Photoshop, Paintshop or your favourite image editing software, you should know how to crop the image in that, if not search for help. But for the purpose of this tutorial I’ll show you how to do it in Paint.NET as it’s free and legal, so anyone can follow the instructions.
All you should have to do now is to use the selection tool:
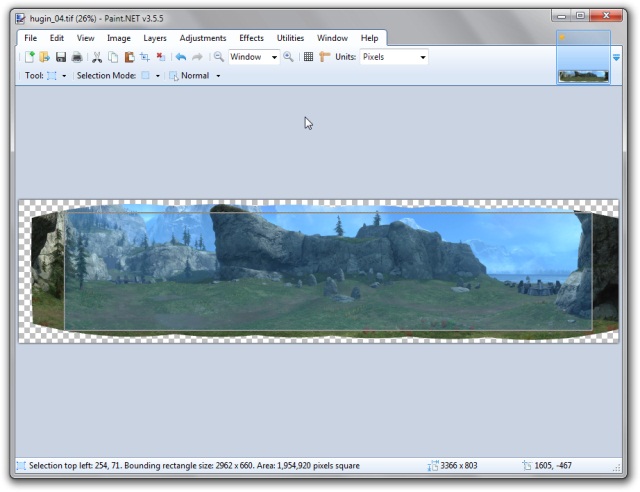
And drag a box around the parts of the image you want to keep, as you can see you may need to lose some of the image to make it a neat rectangle, just try and get the biggest rectangle you can out of it. Then click ‘Image’ and ‘Crop to selection’:
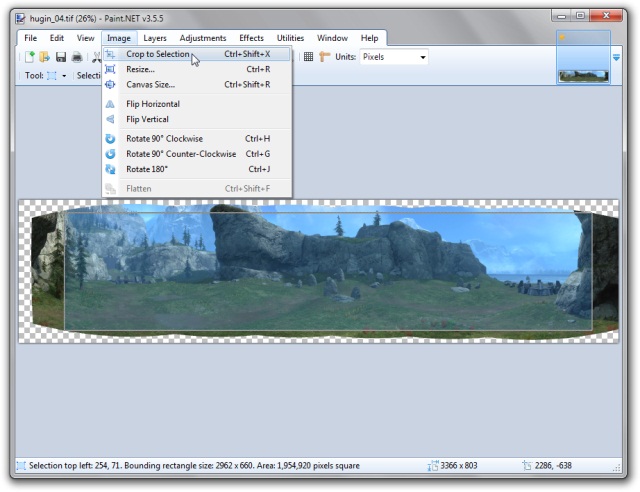
Now you should have the image you want, if for some reason the image is upside down just go to
‘Image’ and then ‘Flip Vertical’.
Click ‘File’ then ‘Save’ and there you have your panorama 🙂

Please enjoy and feel free to share your panoramas here 🙂
A few extra tips:
You can not only create panoramas going left to right and up or down, you could also capture a zig-zag pattern to make a large wide angle image. For example, capture 3 screens left to right, then move up a screen and repeat in the other direction.
Mess about with the settings in Hugin a bit, there are options for compact fisheye type views and sometimes it may be worth chopping and changing styles to suit the shot.
Don’t be afraid to try new things, experiment with different angles and different sizes, I’ve made some big panoramas from halo shots, it’s nice to have something unique, so go crazy!
Here’s a few others I made earlier:


